Getting Started
Login Screen and Default Accounts
After setting up and powering on your test fixture, a login screen will be displayed.
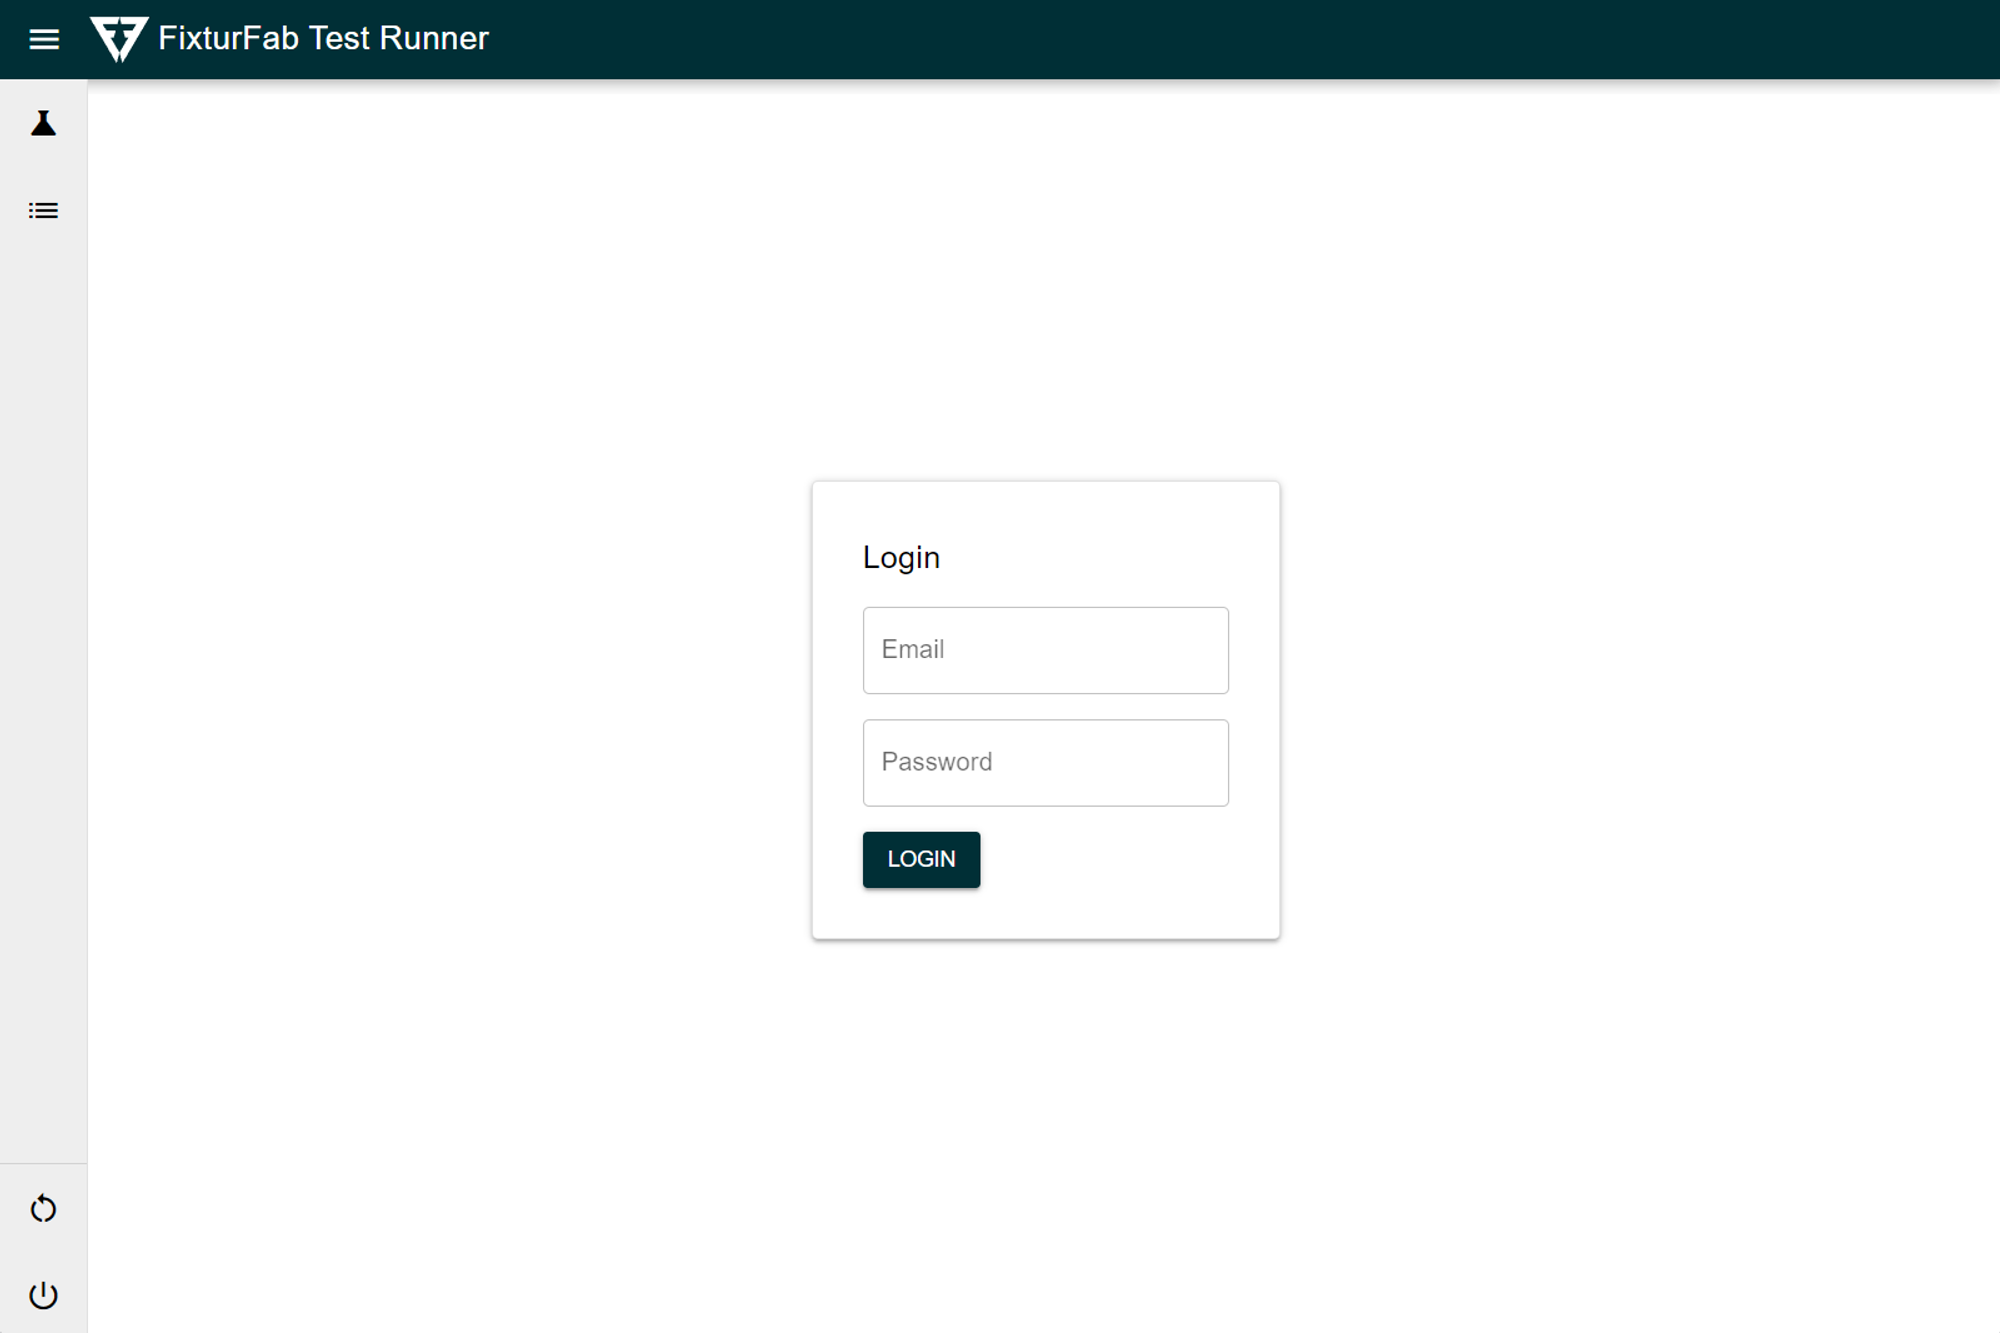
Login to one of the user accounts using the provided username and password.
The default user names and passwords can be found here.
Runner Initialization
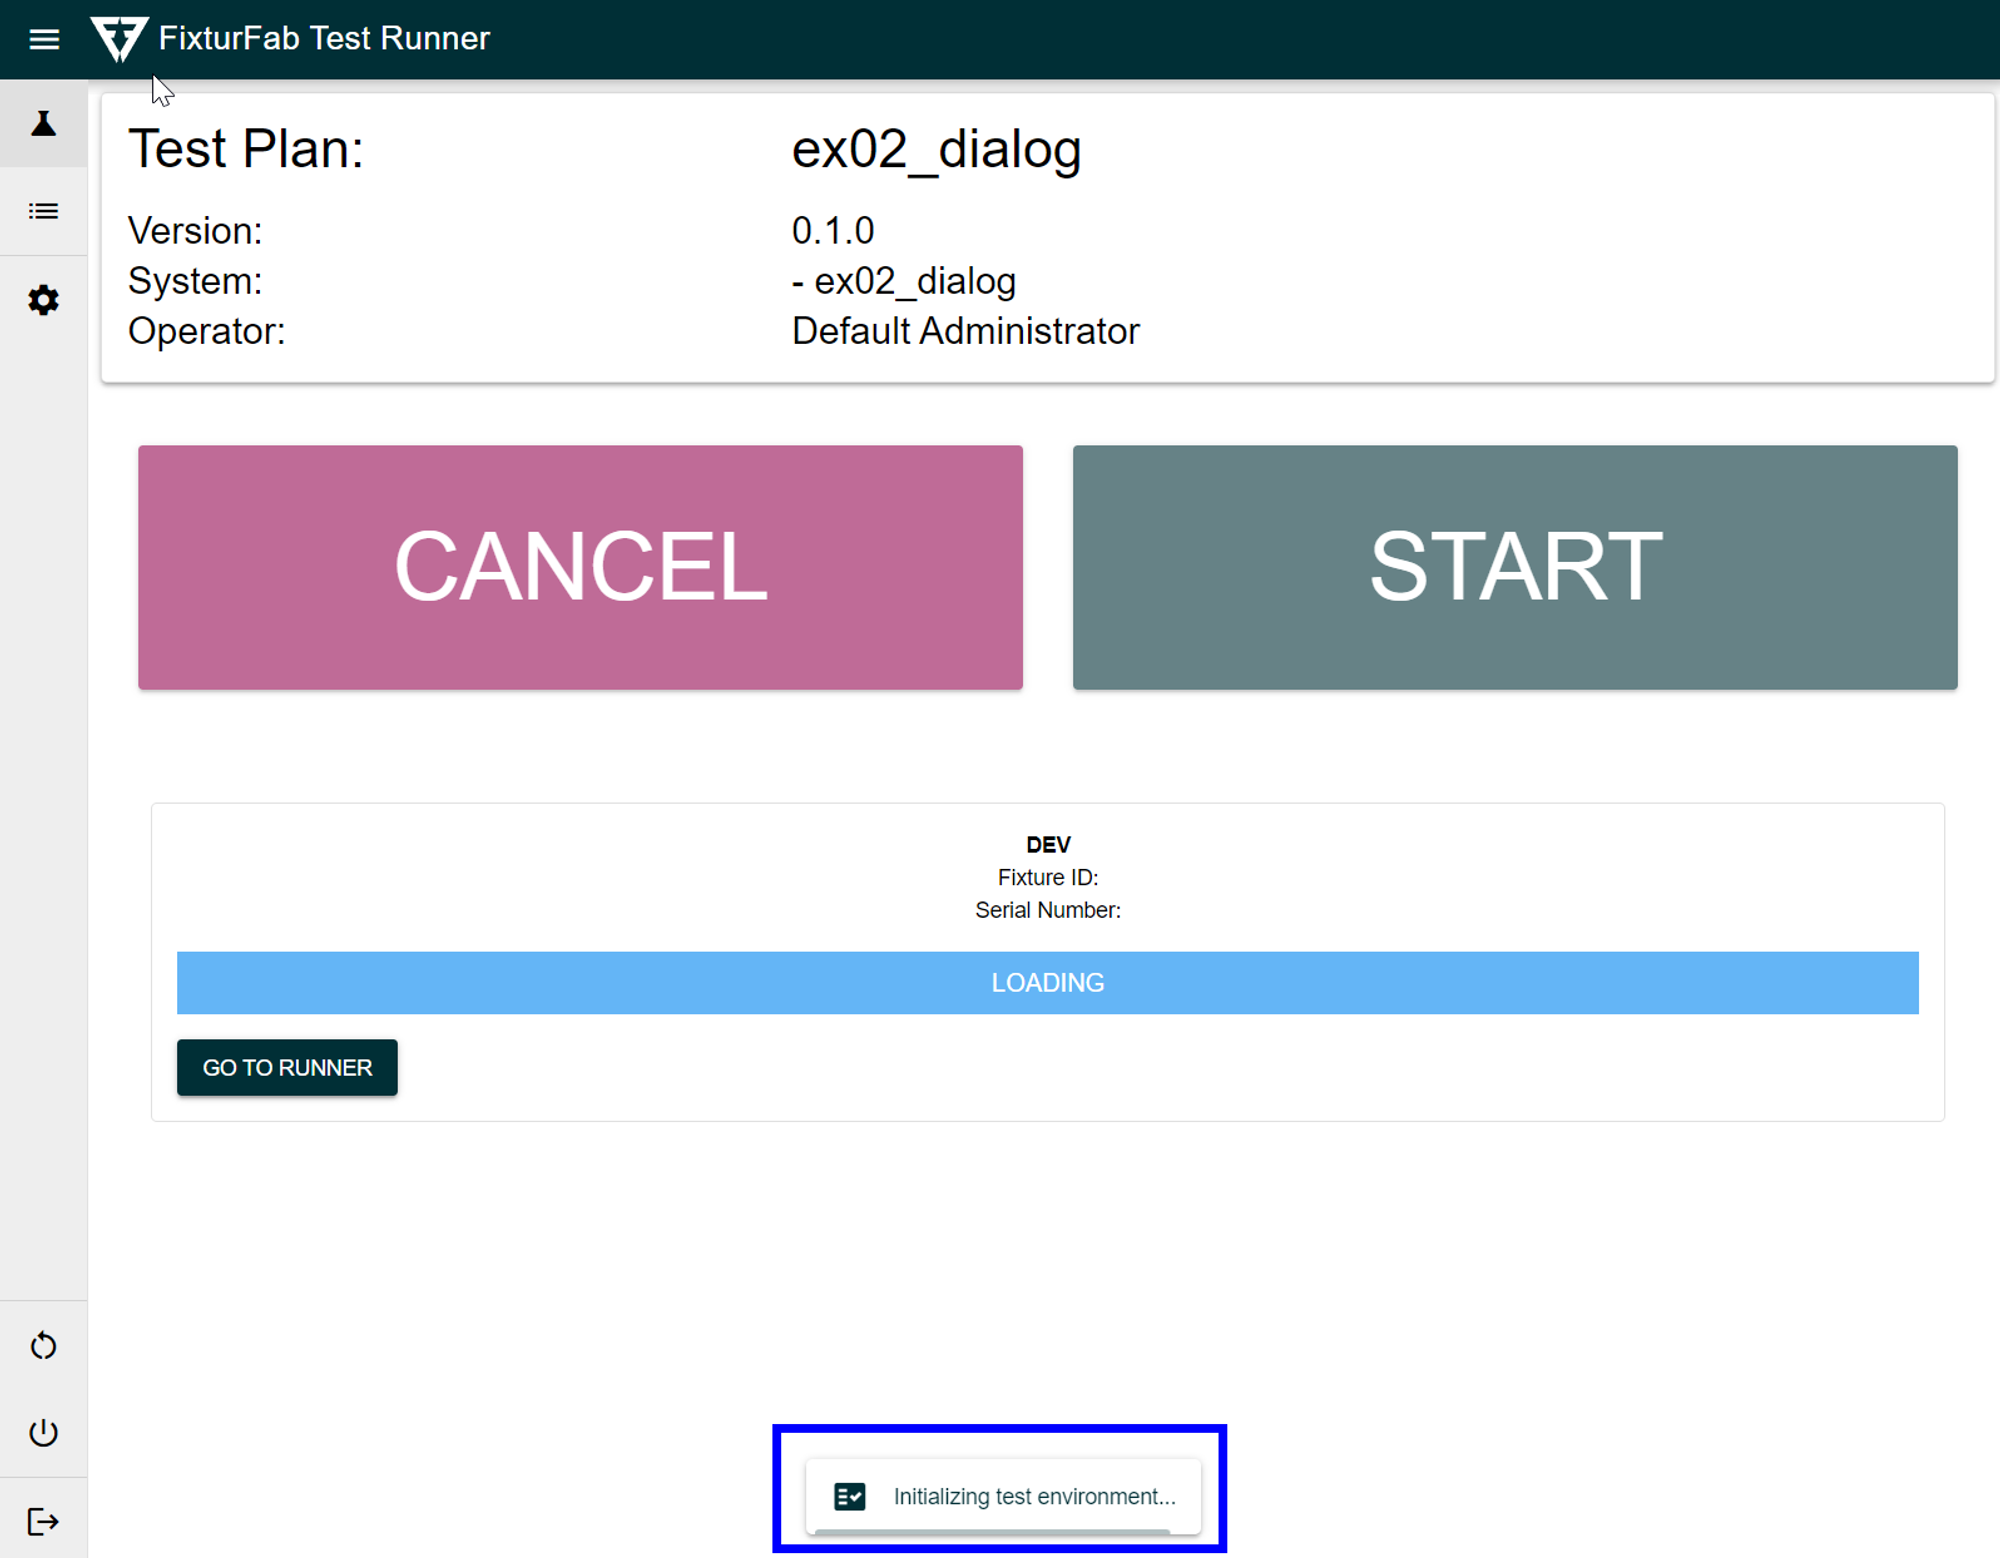
After logging in, wait for the test fixture to finish initialization. This is shown via a progress bar that is displayed in the bottom middle of the screen.
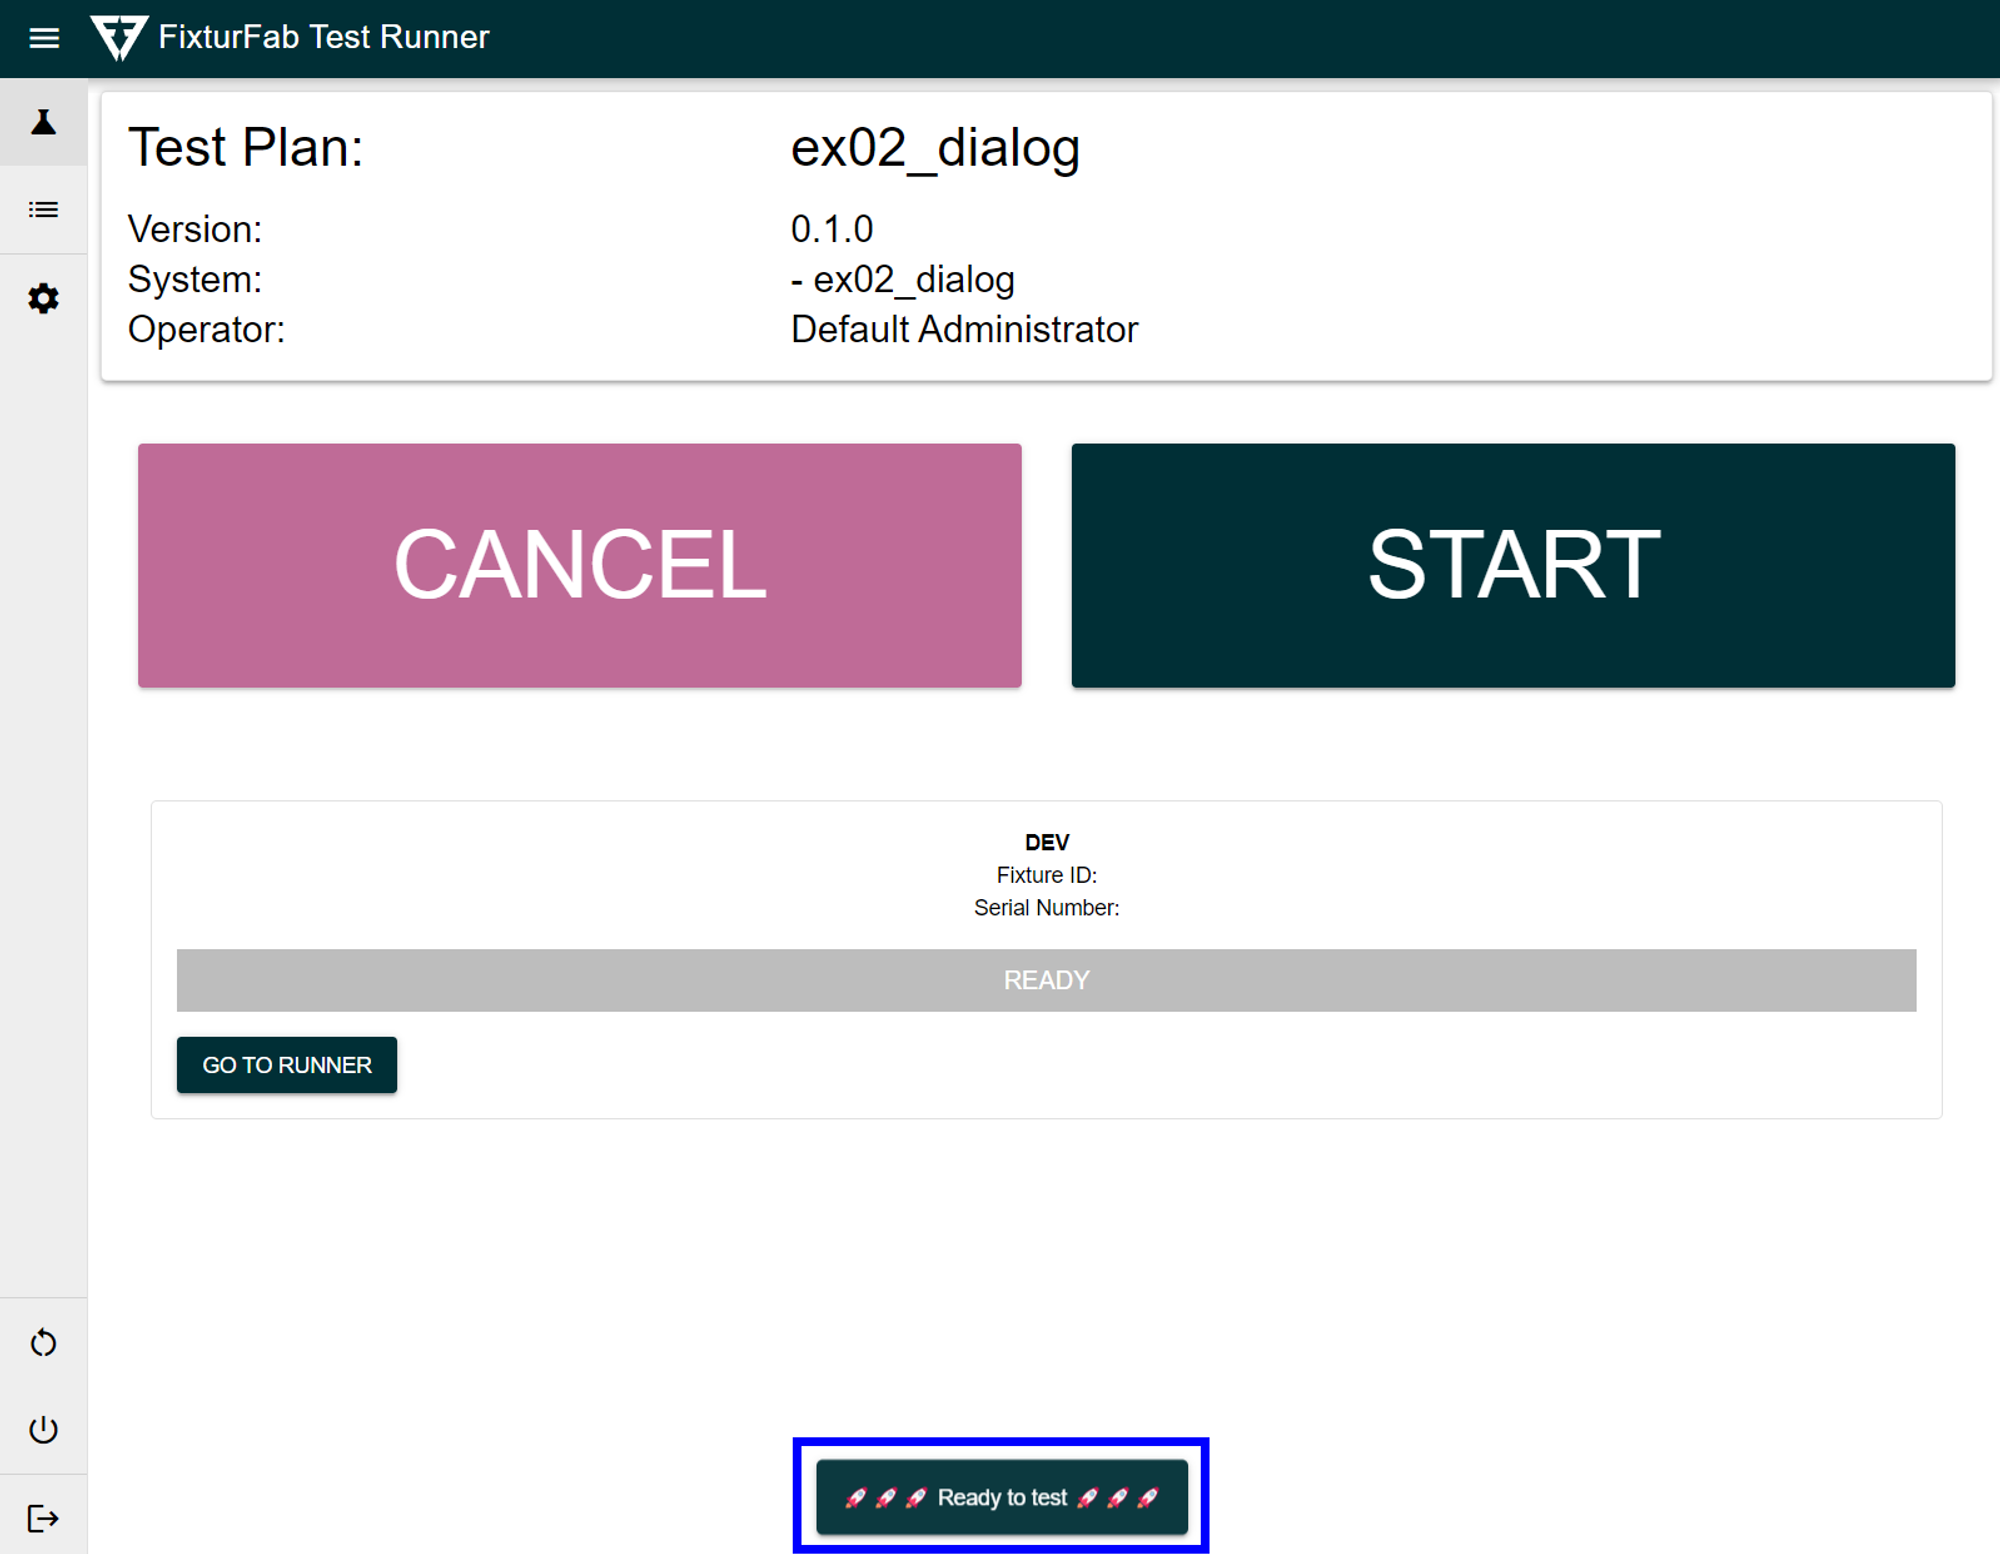
Once initialization has finished, a new notification saying “Ready to test” will be displayed.
Running a Test
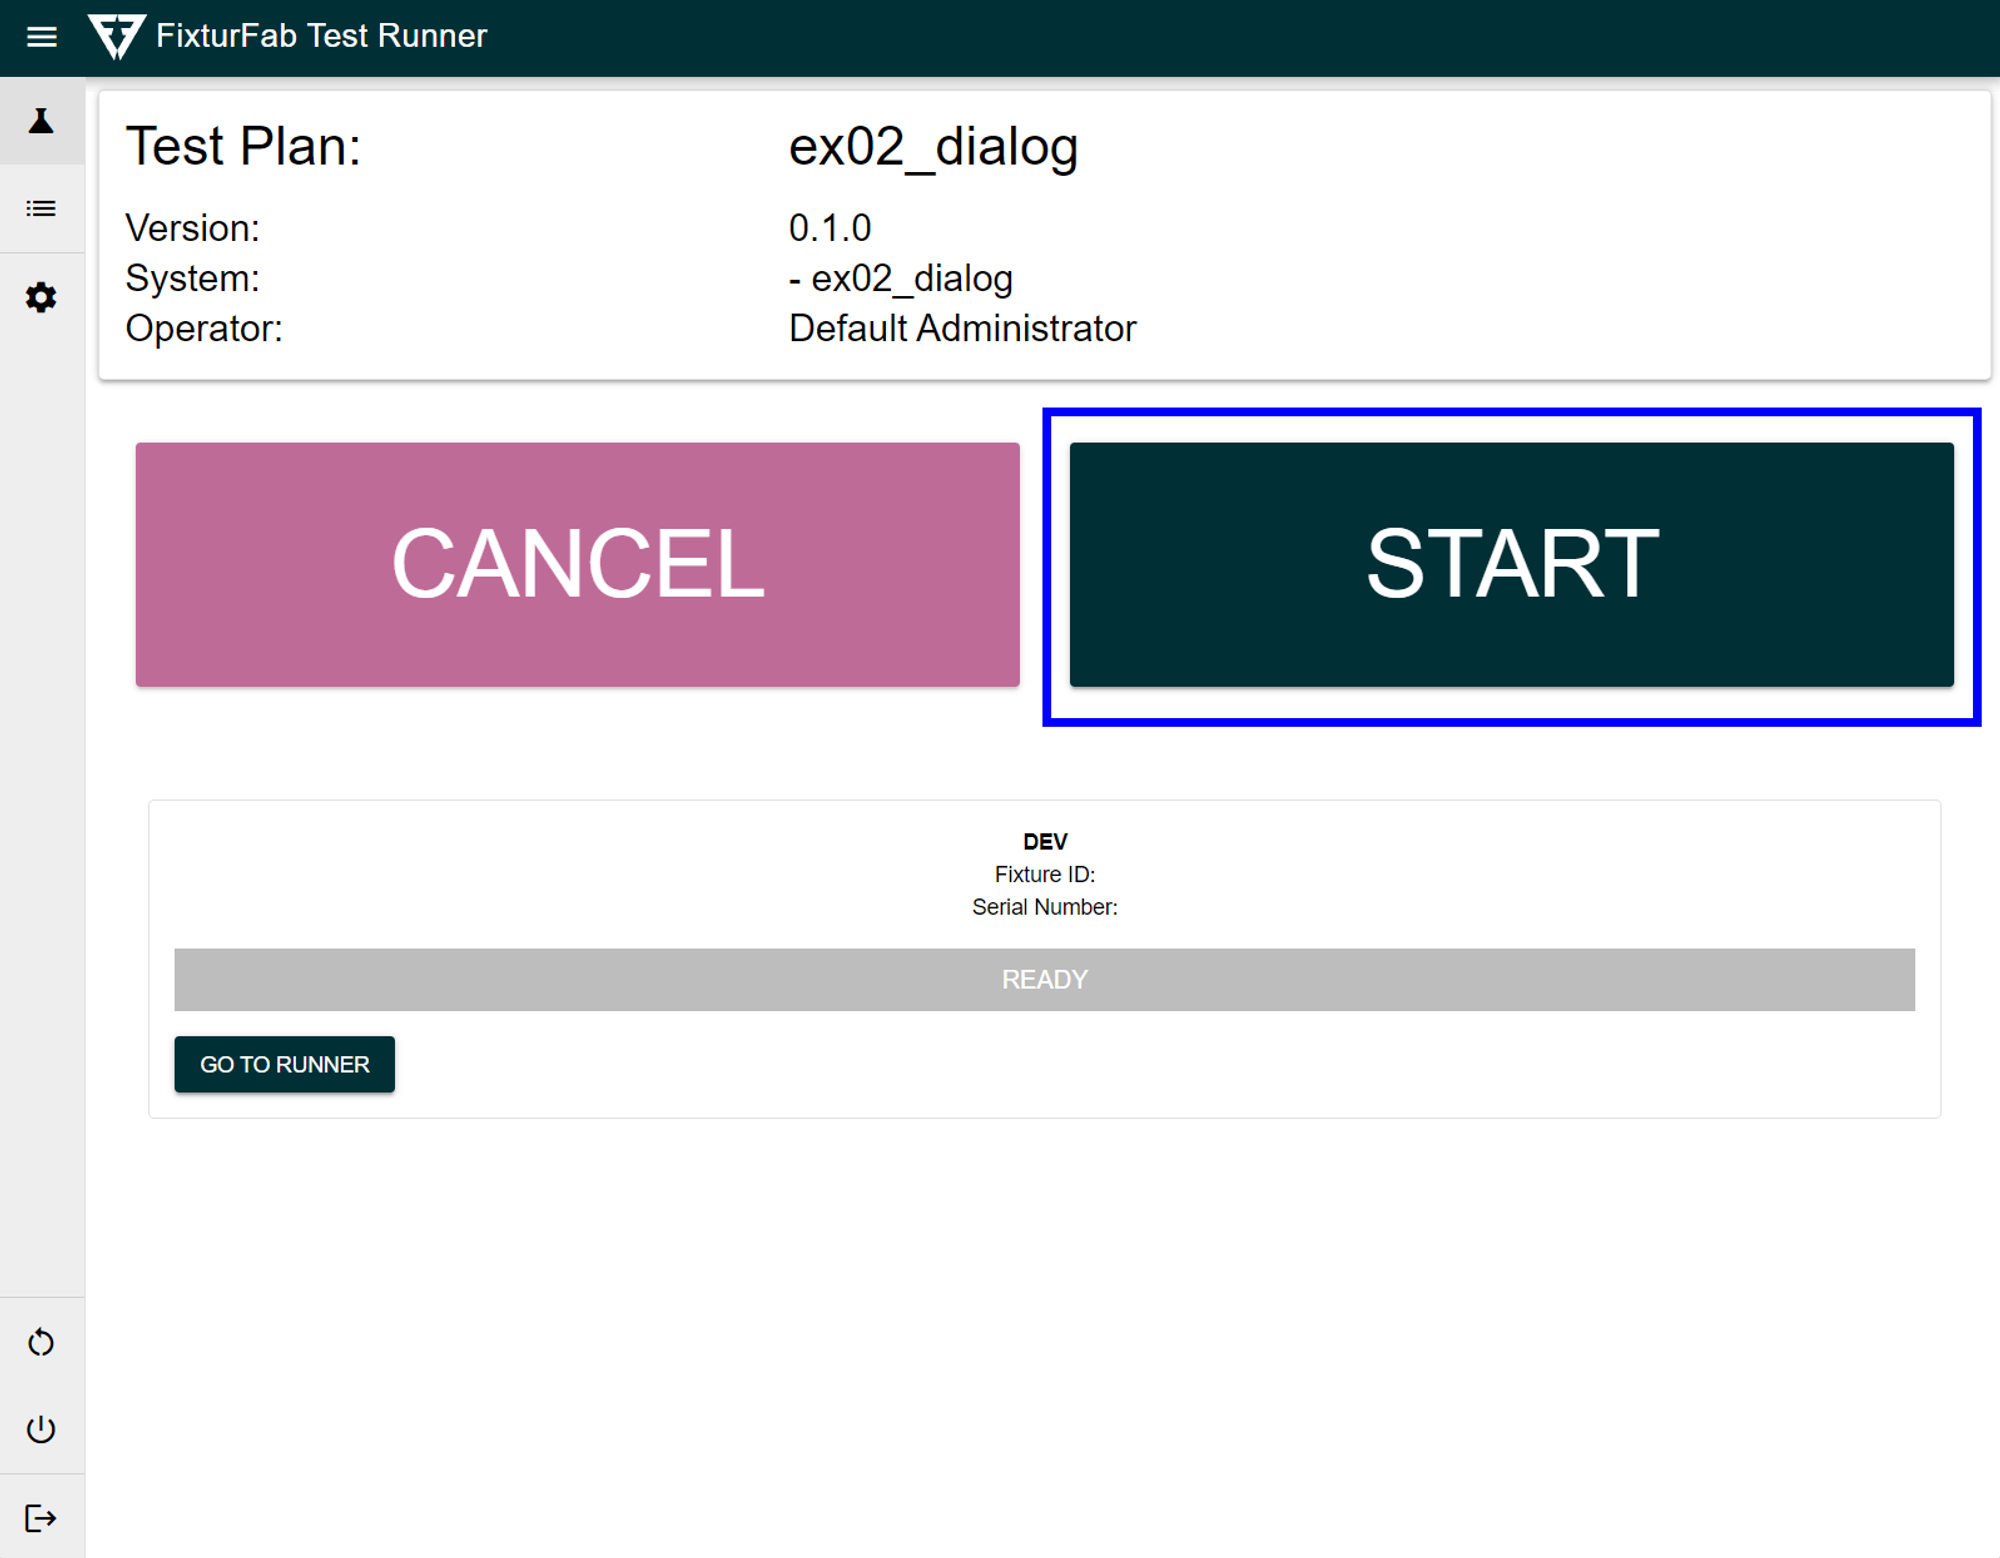
To run a test, click the “START” button. The test will then automatically start.
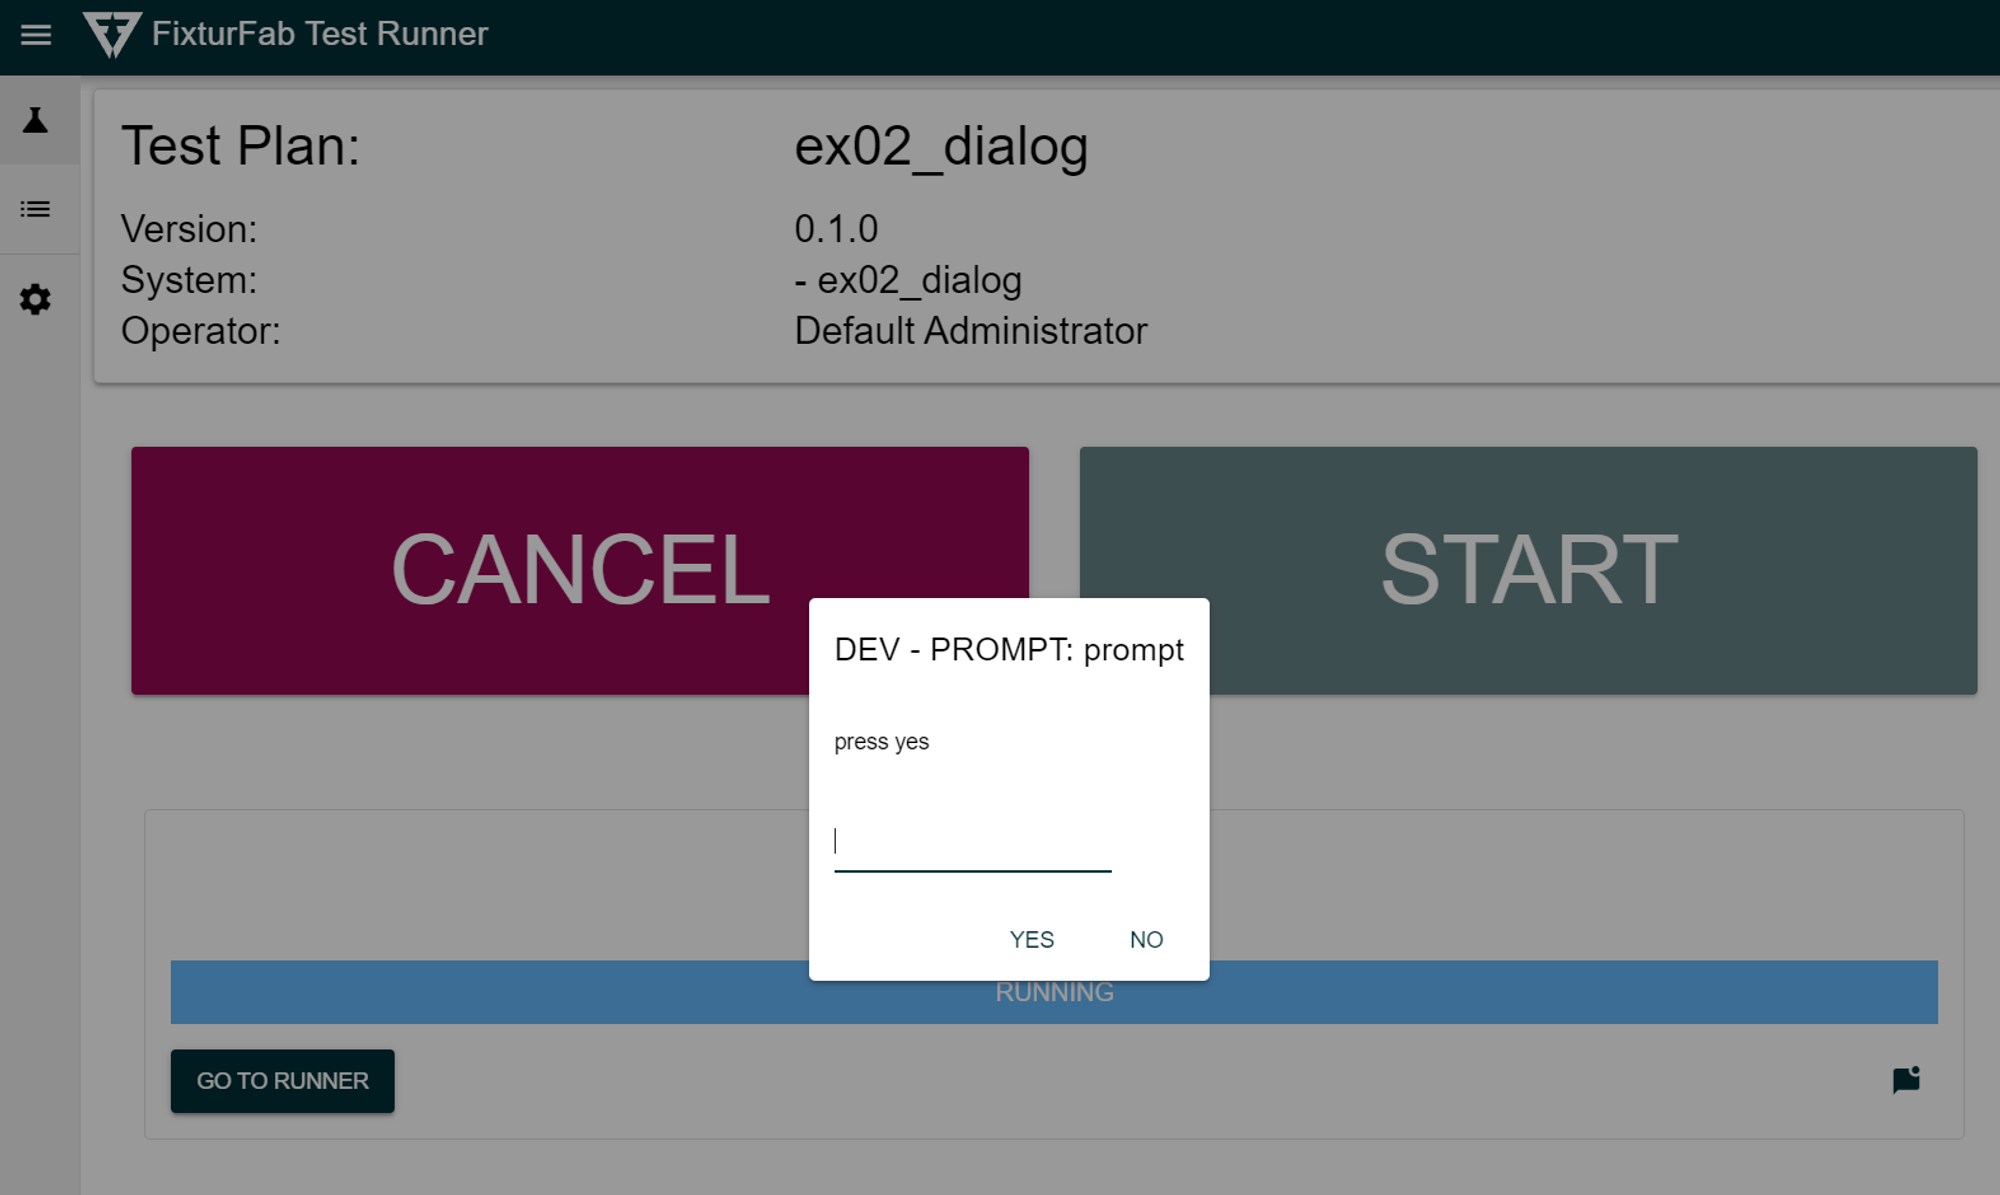
As the test runs, it’s possible for user interaction to be required, this is indicated buy a notification icon appearing in the bottom right of the Slot Card.

To view this notification, you can either click on the notification or scan the slot’s barcode. The notification will then be displayed.
Slot View
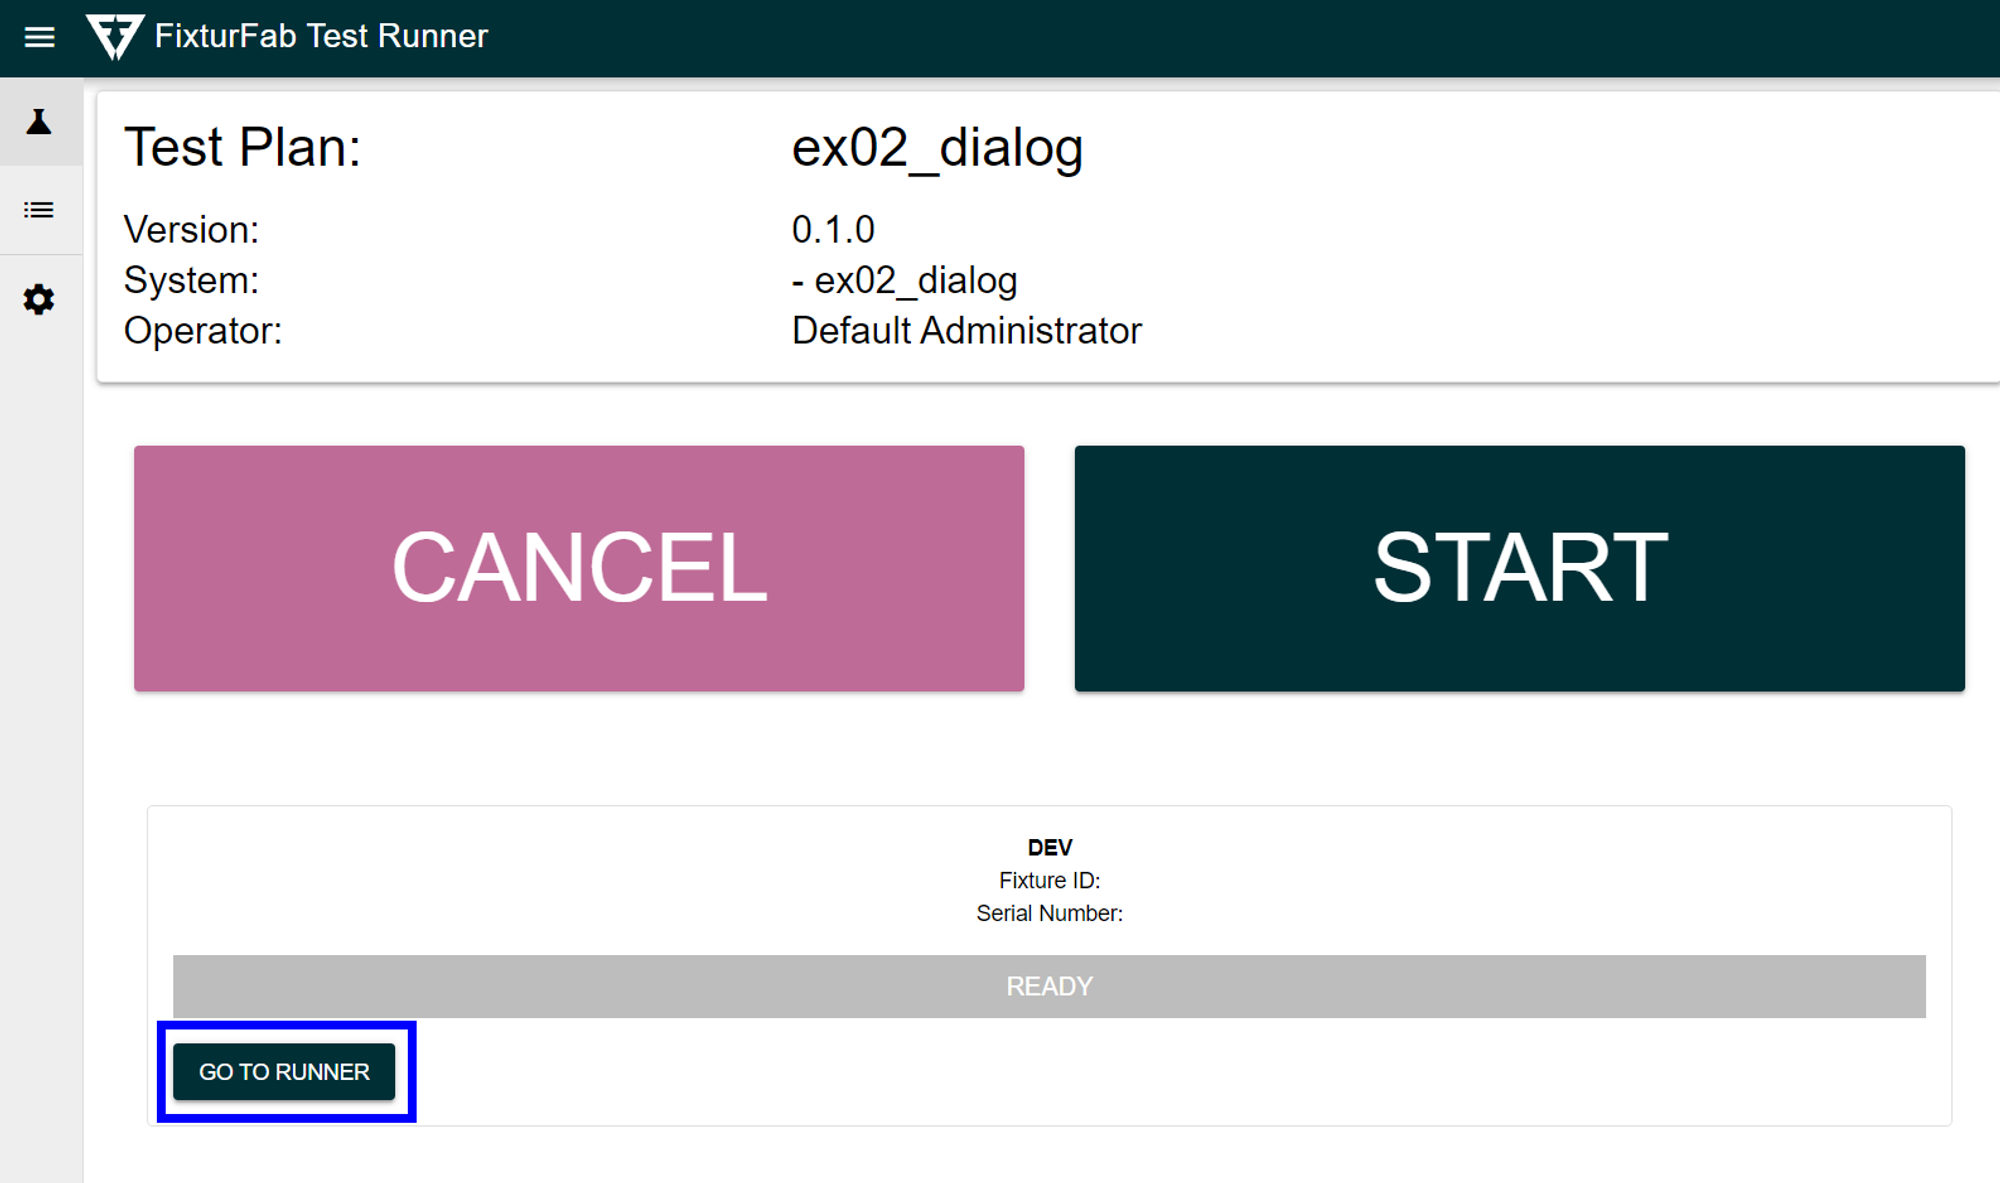
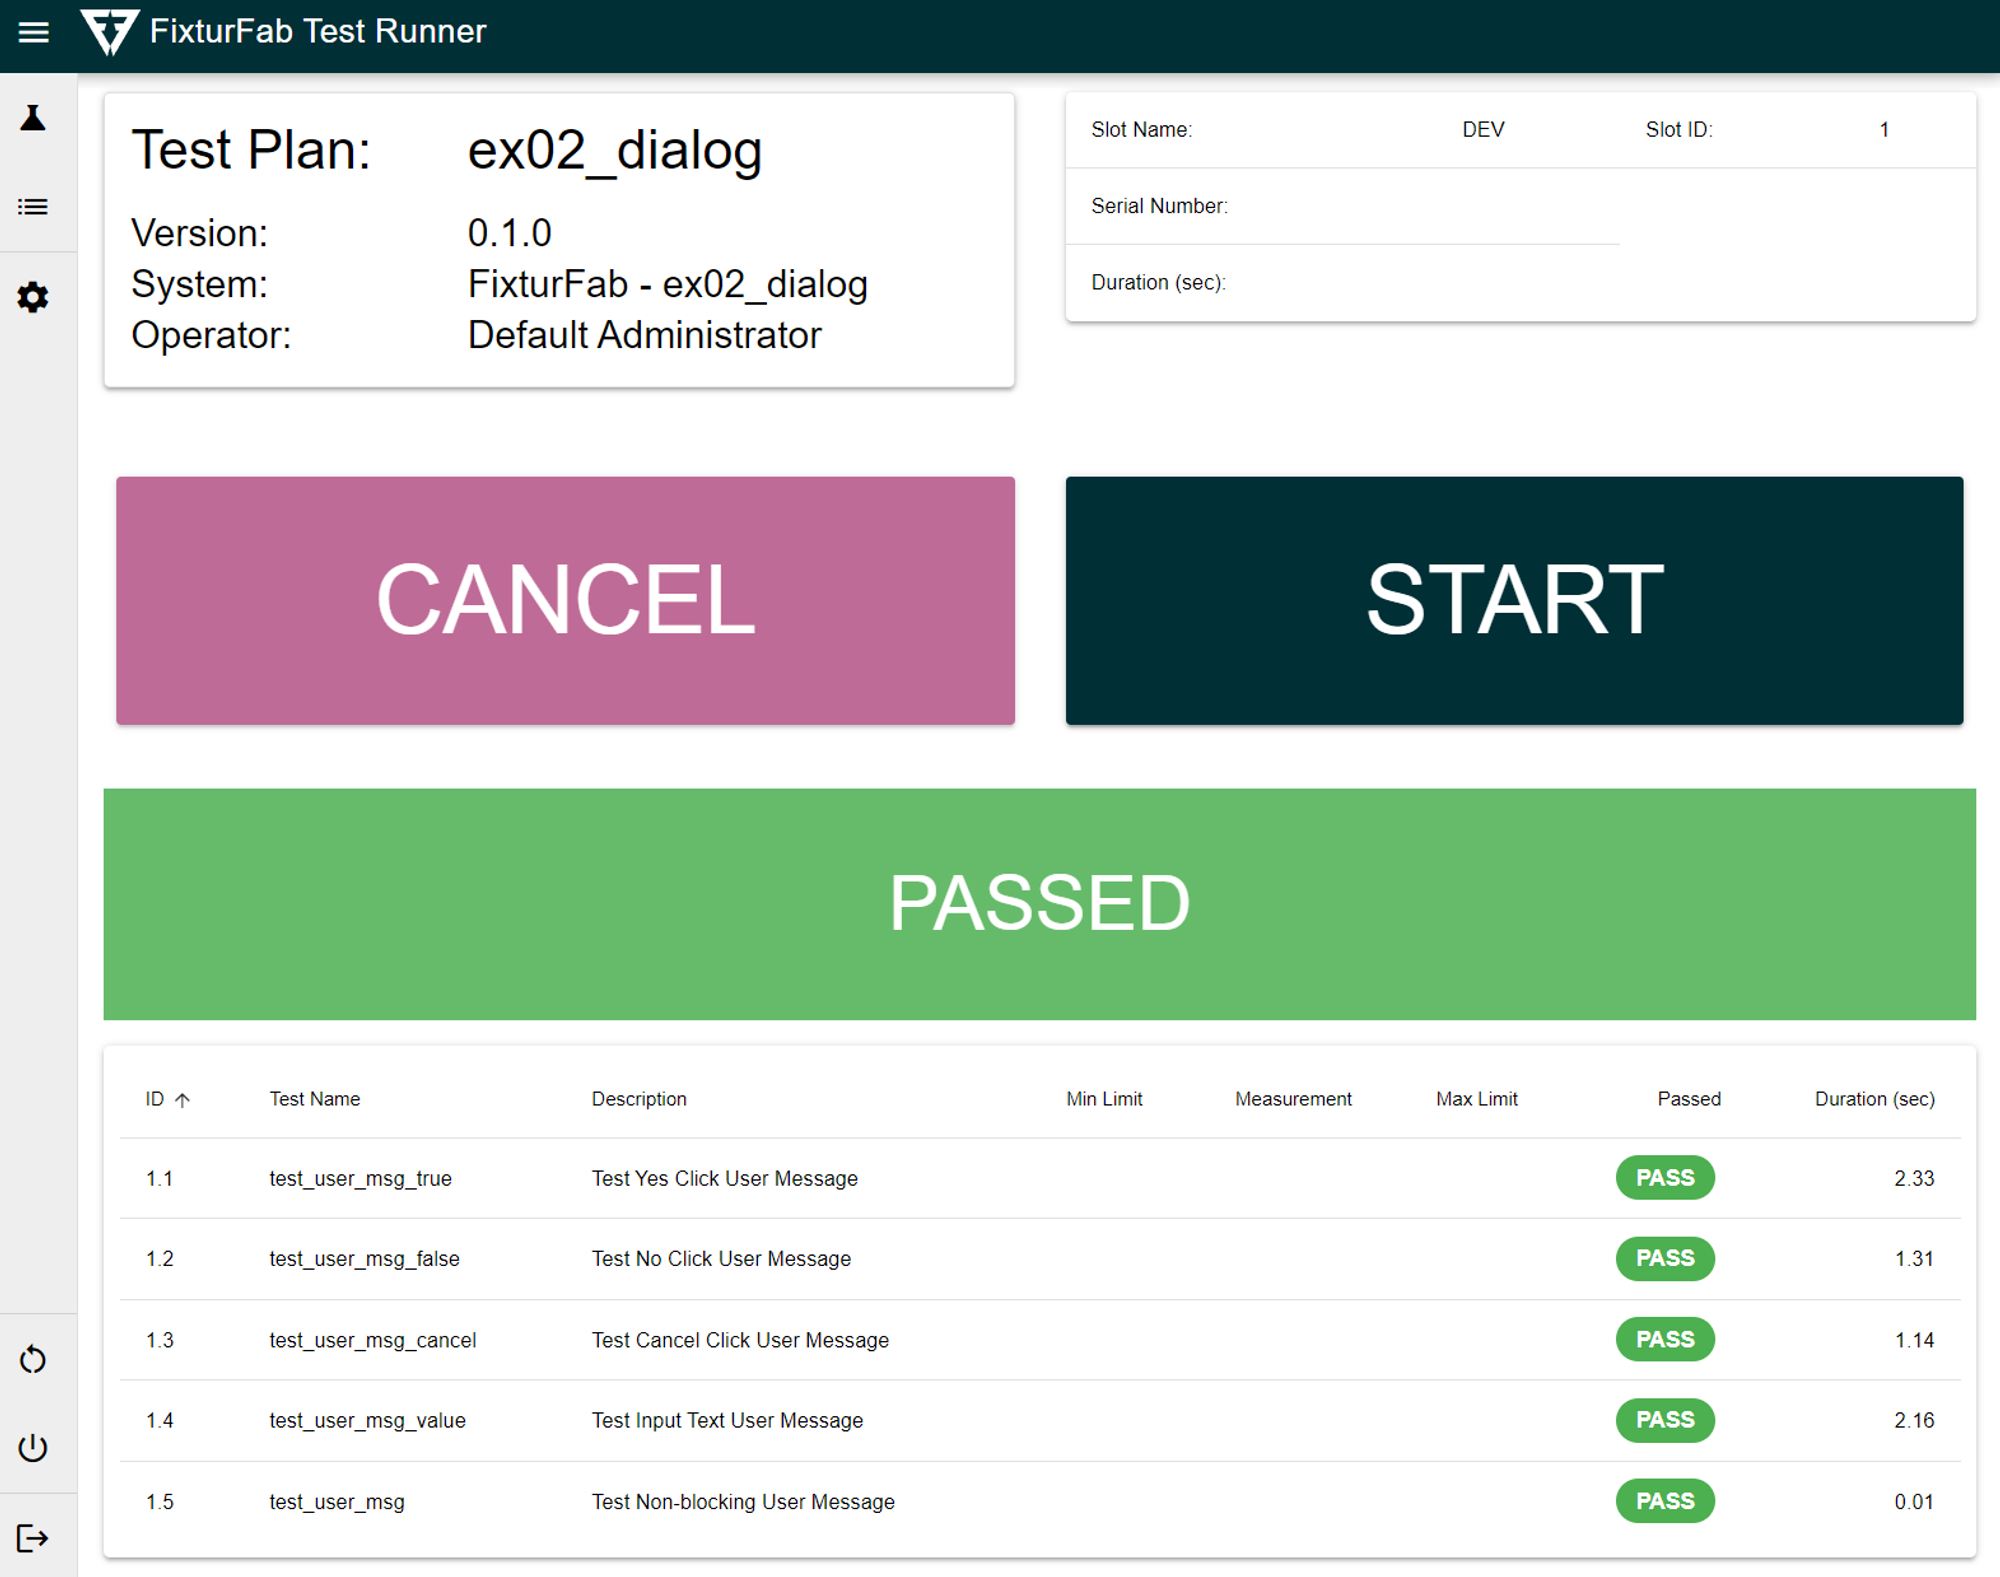
To view a single slot (this is the preferred view when running a 1-up fixture), click on the “Go To Runner” button for the given slot.
This will then show detailed information for the given slot.
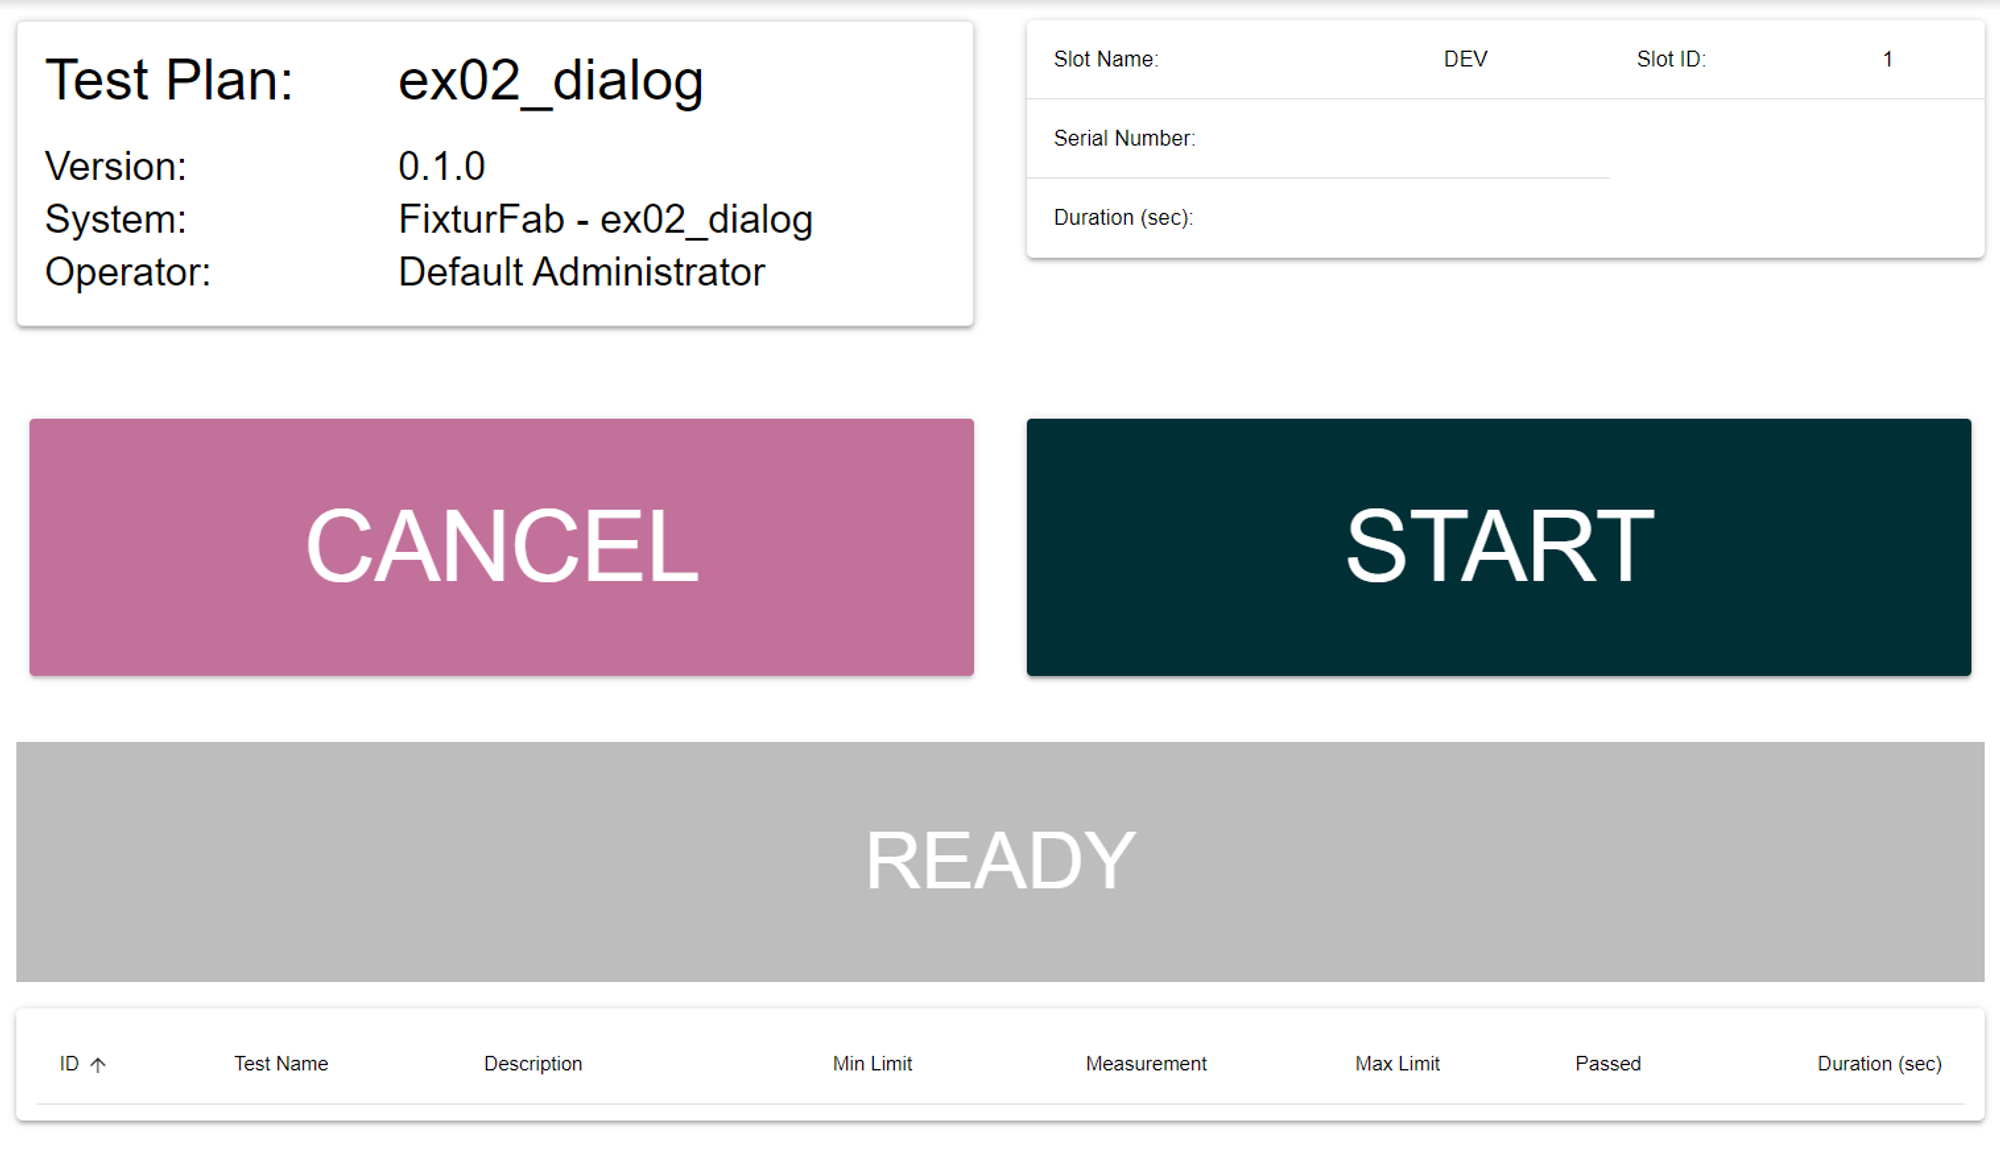
You can view the test results for a slot as the tests are run, these will be added to the test results table at the bottom of the screen.
Viewing Test Results
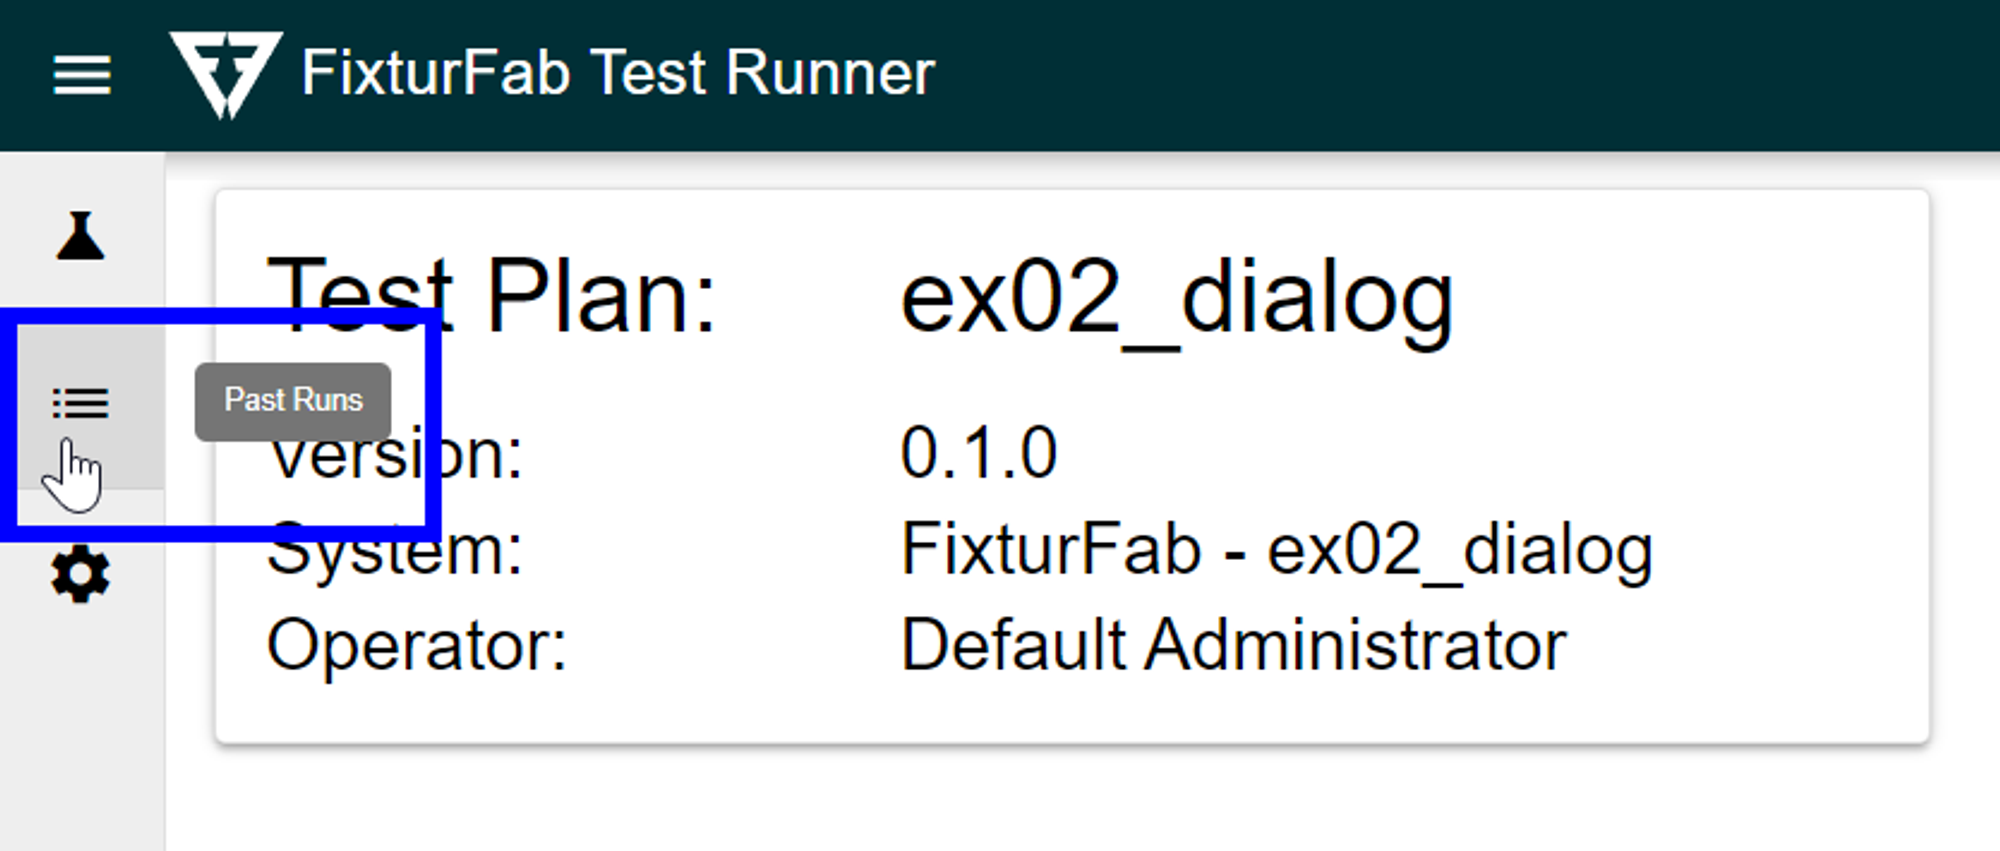
Click on the “Past Runs” menu button to view previously created test results.
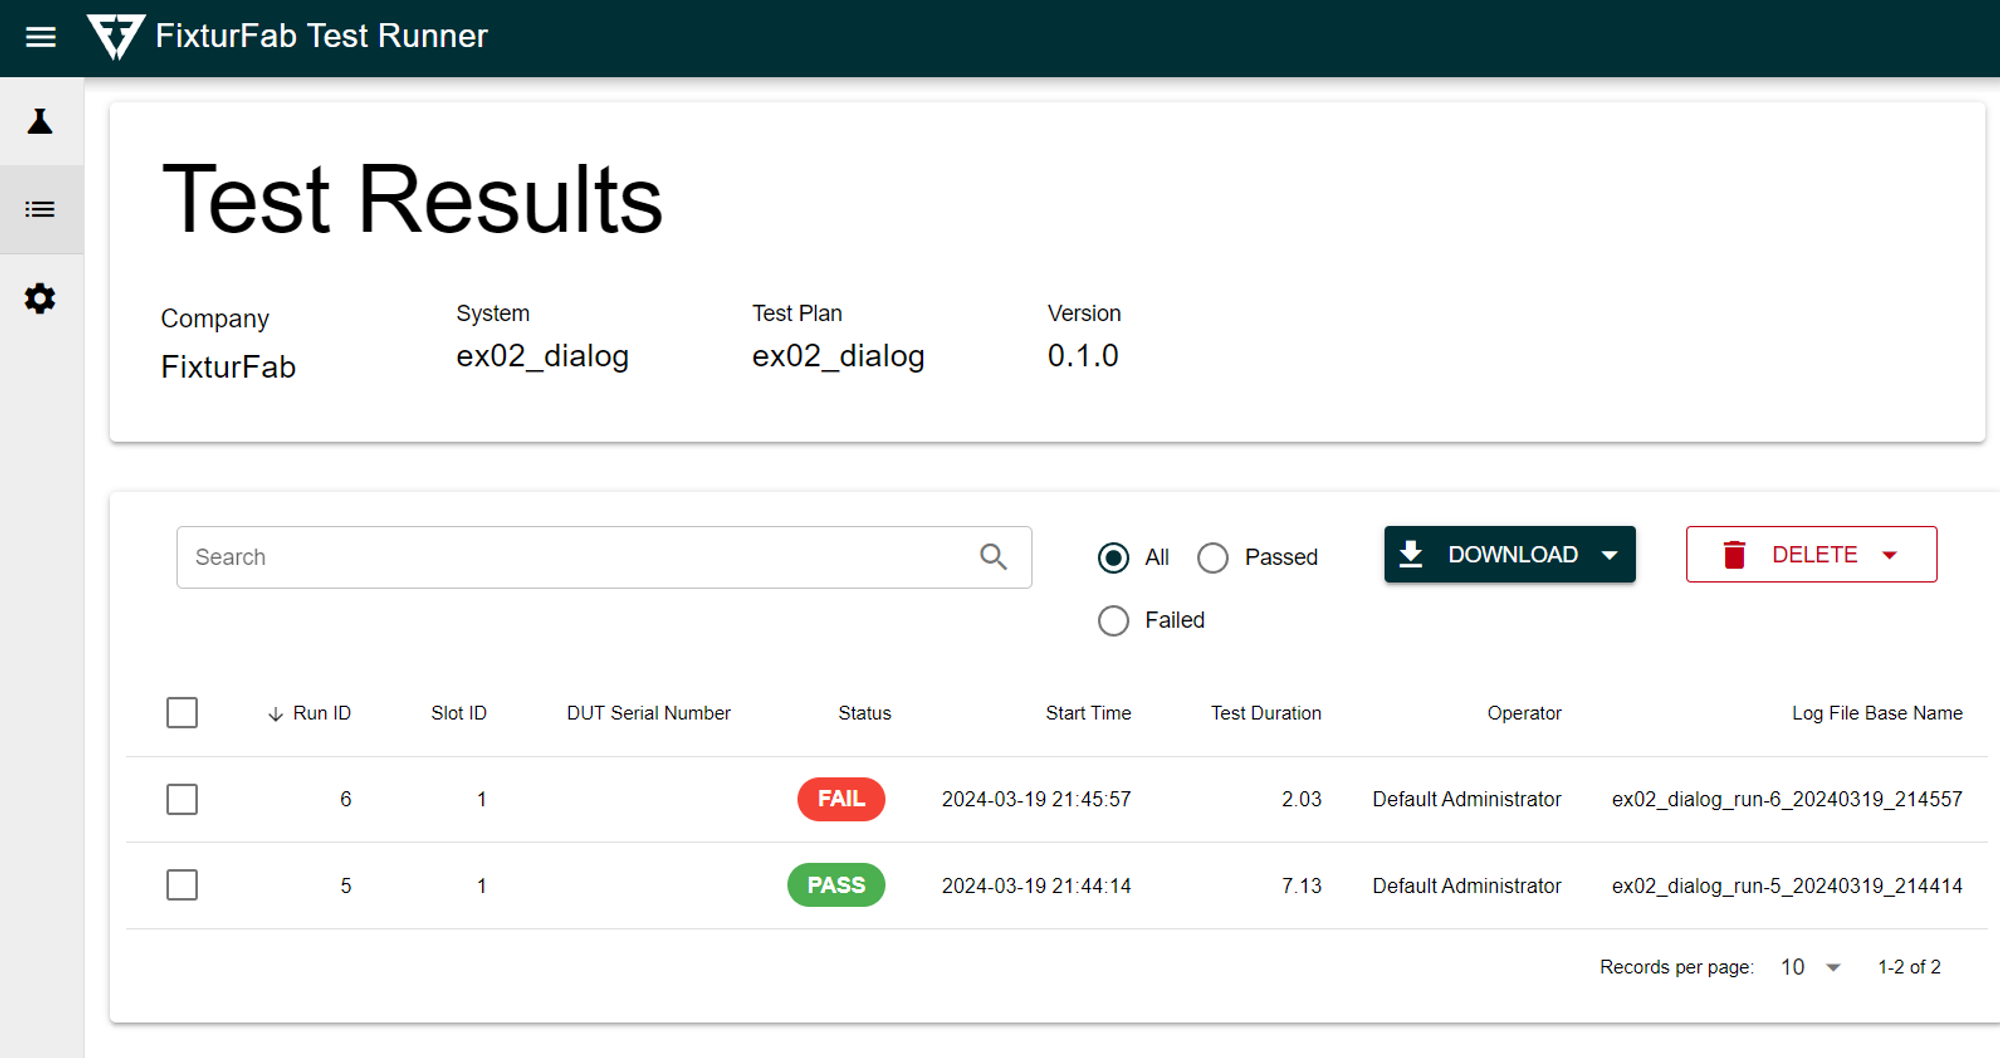
You can filter these by status by using the radio buttons, or search for specific strings within the test result.
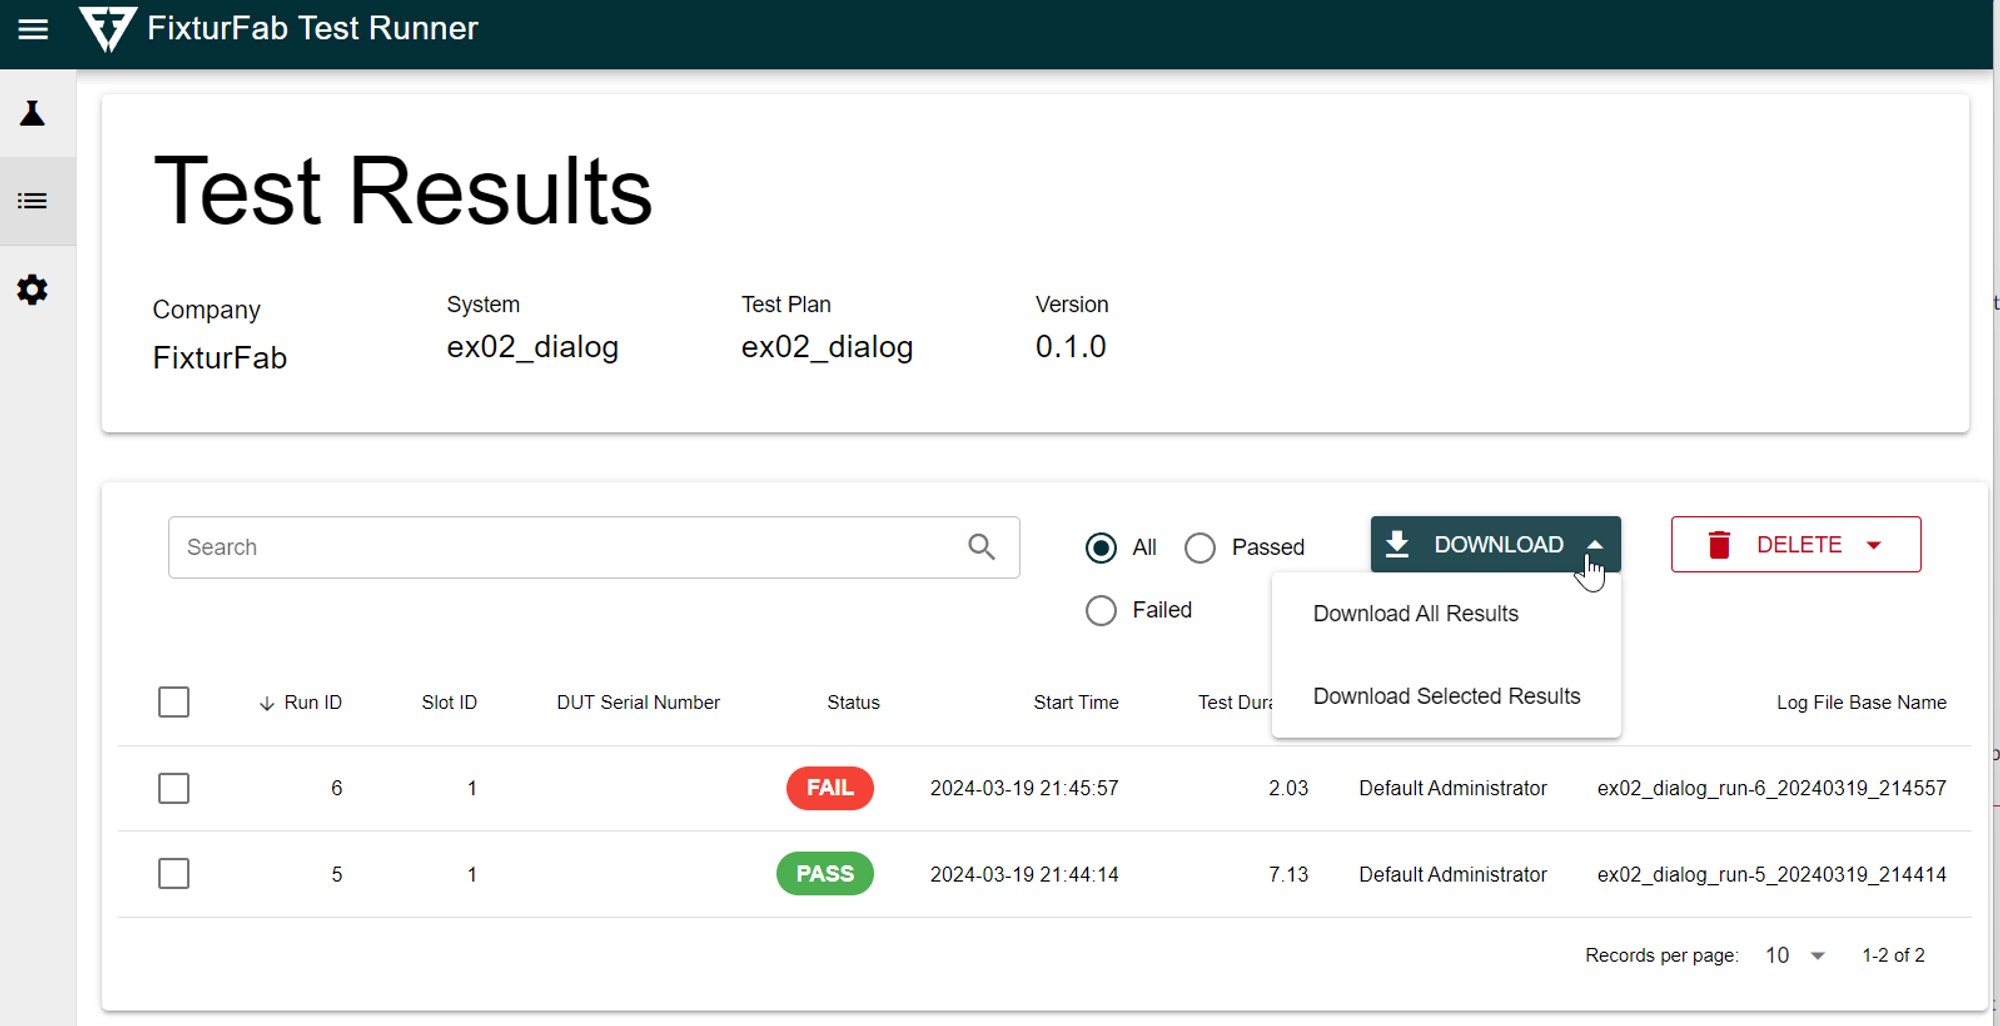
You can also download test results to a USB Drive by inserting a USB Drive and then selecting “Download All Results”, which will download results for all test runs that are currently stored on the test system, or “Download Selected Results”, which will only download the currently selected runs.
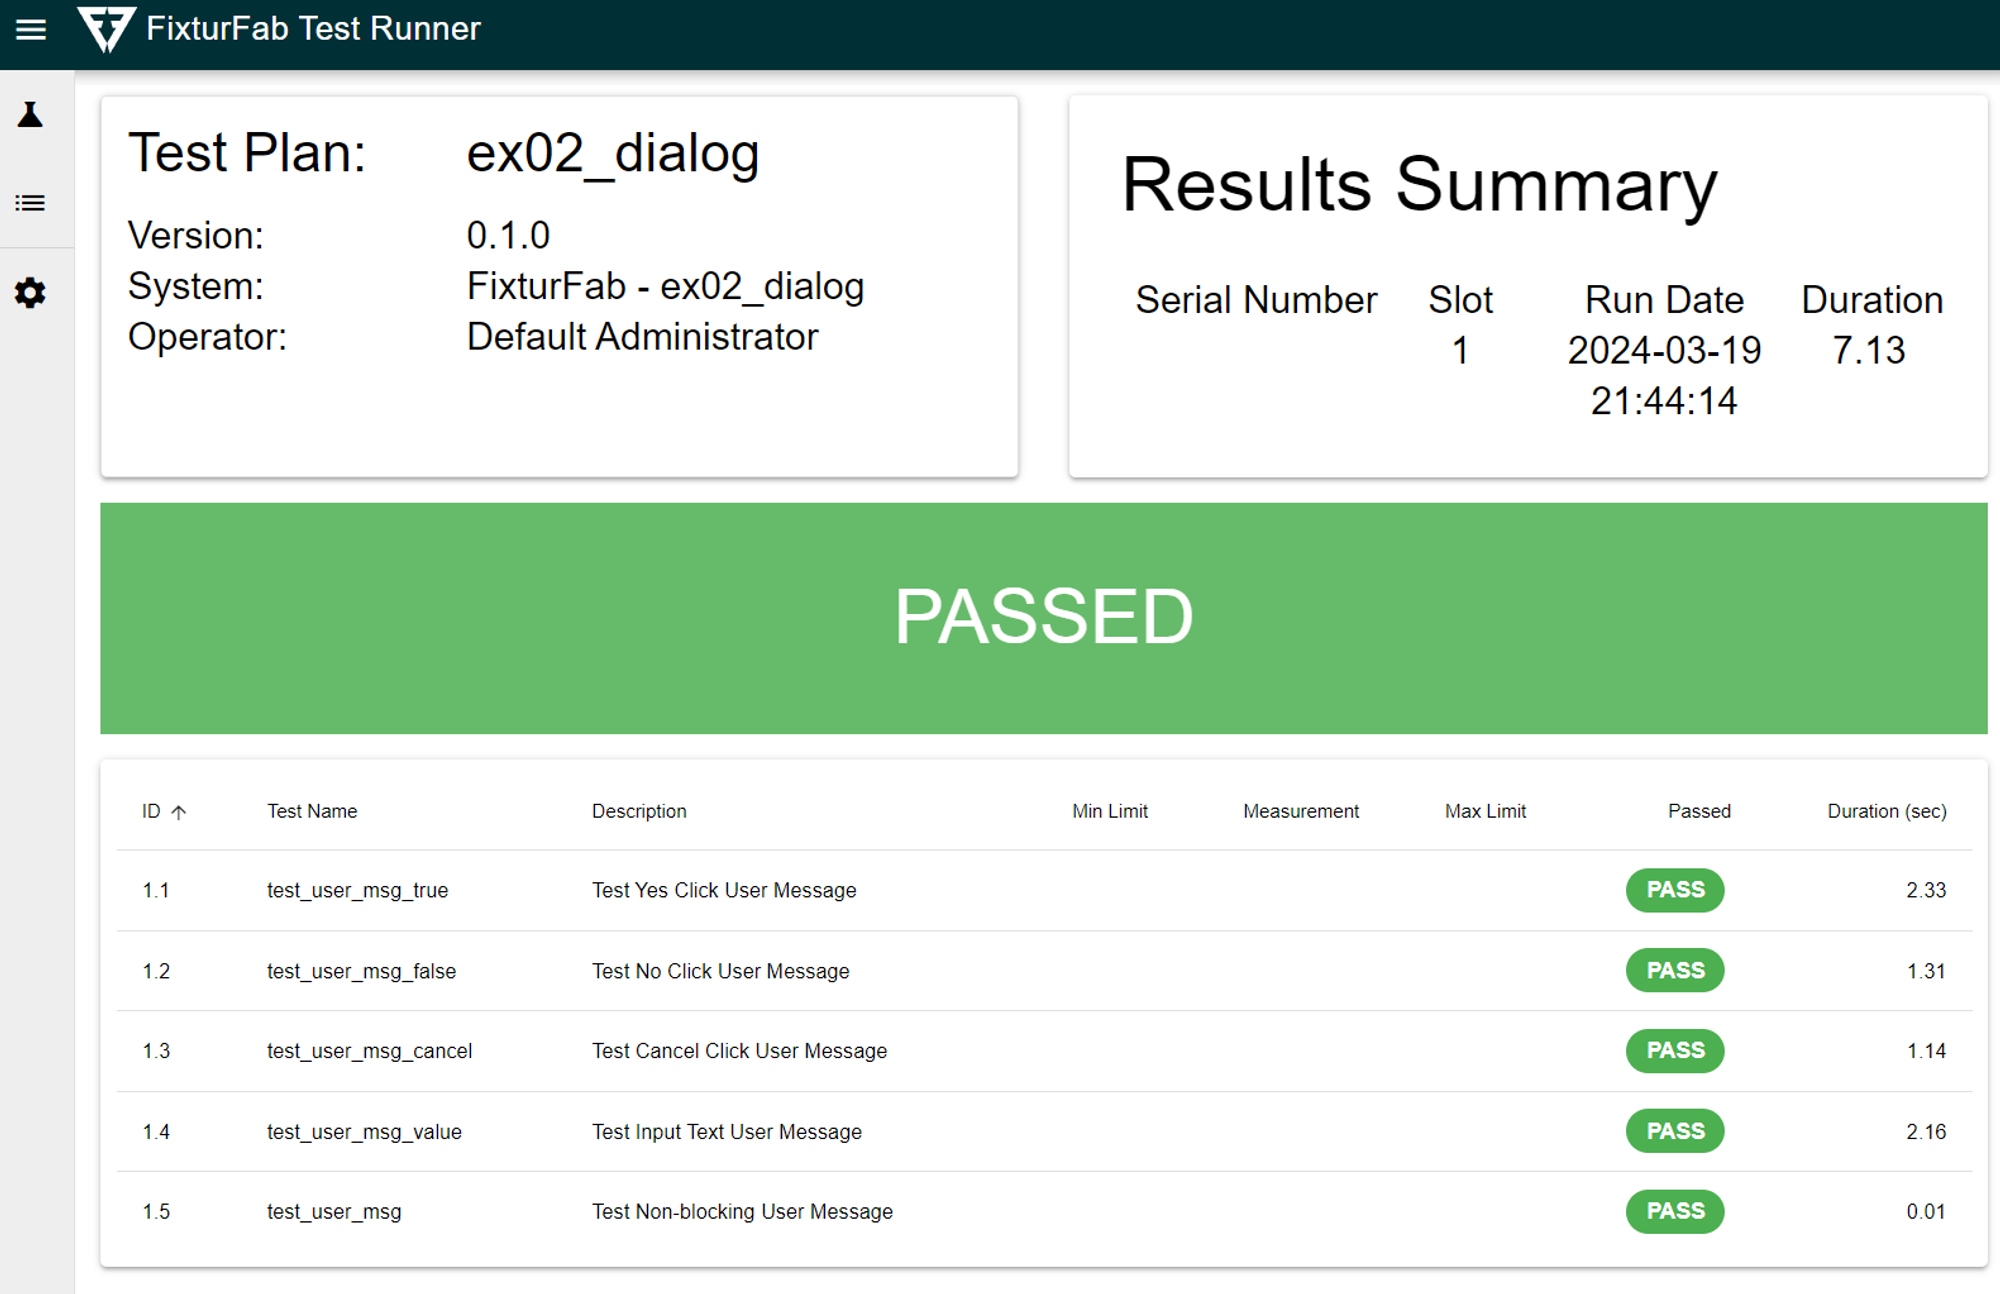
To view detailed information for a given run, click on the row. This will open a new page which will display the results for the various tests that were run.
